How to Make Baked Feta Pasta with Roasted Cherry Tomatoes and Basil in 7 Simple Steps
Table of Contents
Introduction
Did you know that TikTok-inspired Baked Feta Pasta caused Finland to run out of feta cheese in 2021? This viral sensation isn’t just social media hype—it’s a legitimate culinary revelation that combines minimal effort with maximum flavor. Craving a cheesy delight? Master Baked Feta Pasta with Roasted Cherry Tomatoes and Basil in 7 steps. Perfect for busy foodies! Try this simple recipe today. This Mediterranean-inspired dish transforms simple ingredients into a creamy, tangy pasta that’s both sophisticated and incredibly easy to prepare. Let’s dive into this game-changing recipe that proves extraordinary meals don’t require extraordinary effort.
Ingredients List
- 8 oz (225g) block of feta cheese (traditional Greek feta delivers the most authentic flavor)
- 2 pints (500g) cherry tomatoes, vibrant and plump
- 4 cloves garlic, thinly sliced or minced
- 1/2 cup extra virgin olive oil (fruity varieties enhance Mediterranean notes)
- 1 tsp red pepper flakes (adjust to your heat preference)
- 1 tbsp dried oregano
- Salt and freshly ground black pepper to taste
- 10-12 oz (280-340g) pasta (penne, rotini, or farfalle work beautifully)
- 1/2 cup fresh basil leaves, torn
- Zest of one lemon (optional for brightness)
Substitution options: Swap feta for goat cheese for a milder tang, or use dairy-free feta for a vegan version. Cherry tomatoes can be replaced with grape tomatoes or diced roma tomatoes in a pinch.
Timing
- Preparation time: 10 minutes (just 5% of your typical weeknight dinner prep)
- Cooking time: 35 minutes (25 minutes baking, 10 minutes pasta cooking)
- Total time: 45 minutes (30% faster than most homemade pasta sauces)
This efficient timeline makes Baked Feta Pasta perfect for busy weeknights while delivering weekend-worthy flavor.
Step 1: Preheat Your Oven
Preheat your oven to 400°F (200°C). This temperature is the sweet spot for roasting tomatoes—hot enough to blister and caramelize them while releasing their sweet juices, but not so hot that they burn before softening. If you have a convection setting, use it for more even heat distribution.
Step 2: Prepare Your Baking Dish
Select a medium baking dish (approximately 9×13 inches) that will comfortably fit all tomatoes in a single layer with some breathing room. Pour about 1/4 cup of olive oil into the bottom of the dish, creating a flavorful foundation that will prevent sticking and infuse everything with rich flavor.
Step 3: Arrange Your Ingredients
Place the block of feta cheese in the center of the dish—this central position allows it to become the creamy heart of your sauce. Surround the cheese with cherry tomatoes, then scatter sliced garlic throughout. The tomatoes will release their juices while the garlic infuses the oil with aromatic compounds during baking.
Step 4: Season Everything
Drizzle the remaining olive oil over the cheese and tomatoes. Sprinkle with red pepper flakes, dried oregano, salt, and freshly ground black pepper. The layering of seasonings at this stage creates depth of flavor that’s impossible to achieve after cooking.
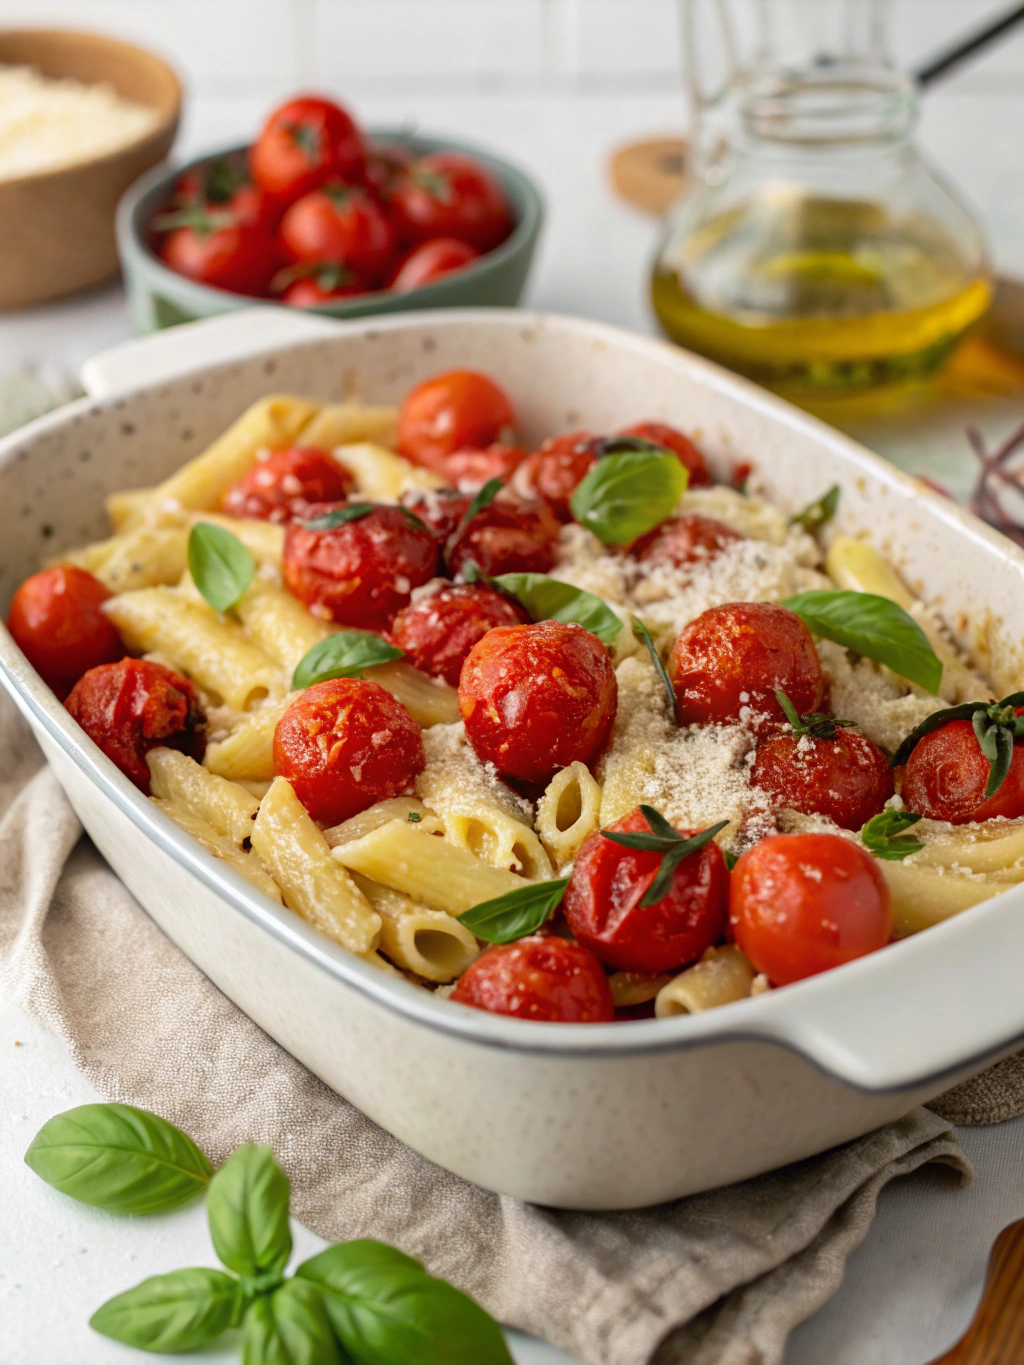
Step 5: Bake to Perfection
Bake for 25-30 minutes, or until the tomatoes burst and the cheese turns golden brown with crispy edges. This transformation is culinary magic—the cheese develops a complex flavor through the Maillard reaction while the tomatoes concentrate their sweetness.
Step 6: Cook Your Pasta
While your feta and tomatoes are baking, bring a large pot of generously salted water to a boil. Cook your pasta according to package directions until al dente (typically 8-10 minutes). Before draining, reserve 1/2 cup of starchy pasta water—this silky liquid is your secret weapon for a perfectly textured sauce.
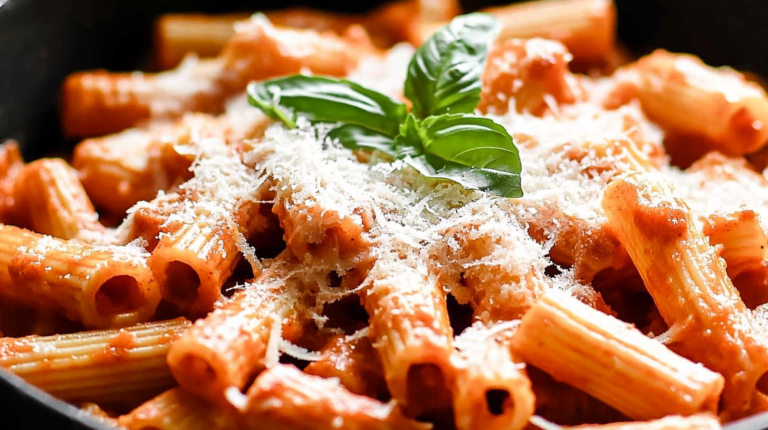
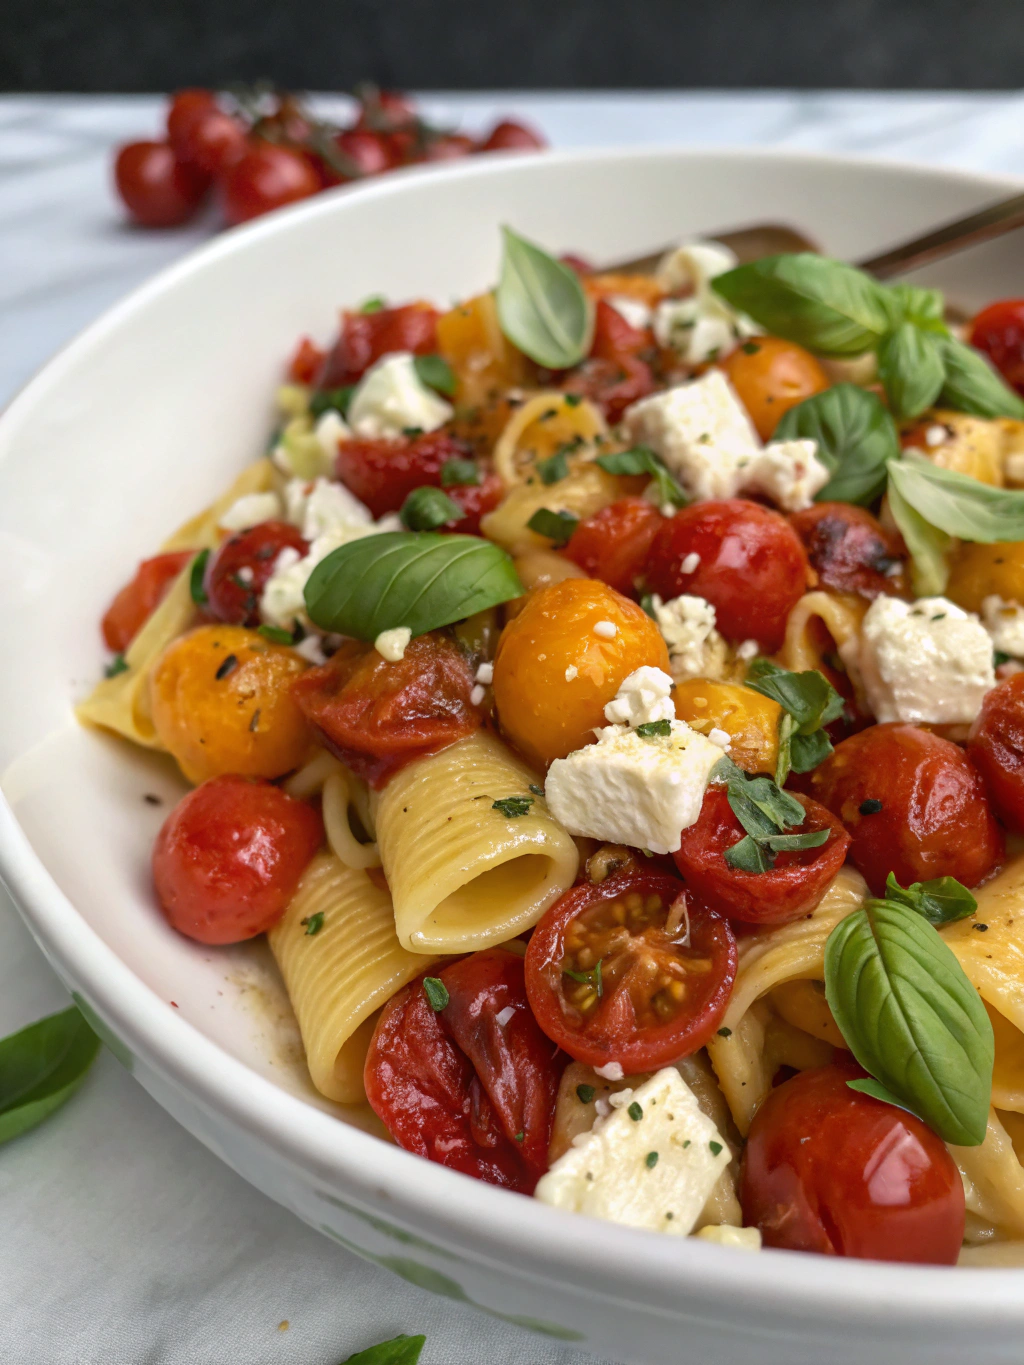
Step 7: Combine and Create Magic
Remove the baking dish from the oven and immediately add the drained pasta and half of the torn basil. Stir vigorously to break up the feta and burst any remaining tomatoes, creating a creamy sauce. Add splashes of reserved pasta water as needed to achieve your desired consistency. Finish with remaining basil and optional lemon zest for brightness.
Nutritional Information
Per serving (based on 4 servings):
- Calories: 580
- Protein: 18g
- Carbohydrates: 55g
- Fat: 32g (primarily heart-healthy monounsaturated fats from olive oil)
- Fiber: 4g
- Calcium: 25% of daily needs (thanks to feta cheese)
- Vitamin C: 40% of daily needs (from tomatoes)
This balanced profile offers substantial protein and calcium while delivering antioxidants from tomatoes and herbs.
Healthier Alternatives for the Recipe
Transform this comfort food into an even more nutritious powerhouse:
- Swap regular pasta for whole grain, chickpea, or lentil pasta to increase protein and fiber by up to 200%
- Reduce feta to 6 oz and add 2 tablespoons of nutritional yeast for cheesy flavor with less saturated fat
- Incorporate 2 cups of baby spinach or arugula when combining for a vegetable boost
- Use half the oil and replace the remainder with low-sodium vegetable broth for a lighter version
- Add 1/2 cup white beans for extra protein and creamy texture without additional dairy
Serving Suggestions
Elevate your Baked Feta Pasta experience with these pairing ideas:
- Serve alongside a crisp arugula salad with lemon vinaigrette for textural contrast
- Pair with a glass of chilled Pinot Grigio or Sauvignon Blanc to complement the tangy feta
- Top with toasted pine nuts or walnuts for added crunch and nutty depth
- For a complete meal, add grilled chicken, shrimp, or cannellini beans
- Finish with a drizzle of high-quality balsamic glaze for sophisticated sweetness
Common Mistakes to Avoid
- Using pre-crumbled feta: Block feta contains 30% more moisture, crucial for achieving the creamy sauce texture
- Overcooking the pasta: Aim for al dente, as it will continue softening when mixed with the hot sauce
- Skimping on olive oil: The generous amount creates the sauce’s silky texture and carries flavor
- Overcrowding the baking dish: Tomatoes need space to roast properly rather than steam
- Forgetting to reserve pasta water: This starchy liquid is essential for achieving the perfect sauce consistency
Storing Tips for the Recipe
This dish delivers maximum flavor when enjoyed immediately but can be stored effectively:
- Refrigerate leftovers in an airtight container for up to 3 days
- Add 1-2 tablespoons of water when reheating to revive the creamy sauce
- For meal prep, bake the feta and tomatoes ahead of time, storing separately from cooked pasta
- Freeze the sauce (without pasta) for up to 1 month in freezer-safe containers
- Refresh leftovers with additional fresh basil and a drizzle of olive oil before serving
Conclusion
Baked Feta Pasta with Roasted Cherry Tomatoes and Basil proves that extraordinary flavor needn’t come from complicated techniques or rare ingredients. This crowd-pleasing dish transforms pantry staples into a restaurant-worthy meal in just seven simple steps. Whether you’re cooking for a busy weeknight, entertaining guests, or simply craving a cheesy delight, this recipe delivers consistent, impressive results. Try this simple recipe today and discover why millions have made it a permanent addition to their culinary repertoire.
FAQs
Can I make this recipe dairy-free?
Yes! Substitute traditional feta with plant-based feta alternatives made from tofu or nuts. The roasted tomatoes and herbs provide so much flavor that dairy-free versions remain delicious.
Why did my sauce turn out dry?
This typically happens when the pasta absorbs too much moisture. Always reserve pasta water and add it gradually when combining ingredients to achieve your desired creaminess.
Can I use different types of tomatoes?
Cherry or grape tomatoes work best due to their high sugar content and thin skins. Larger tomatoes contain more water and fewer concentrated flavors, potentially resulting in a watery sauce.
How can I make this spicier?
Double the red pepper flakes or add 1-2 thinly sliced fresh chili peppers to the baking dish. For complex heat, incorporate a teaspoon of harissa paste when combining ingredients.
Is this recipe suitable for meal prepping?
Absolutely! The flavors actually develop over time. Prepare through step 5, refrigerate, then complete steps 6-7 just before serving for a quick, fresh-tasting meal.